Somewhere, and I forget exactly where, I got the notion of using flannel as a whiteboard eraser. I use little individual whiteboards in my classrooms. Recently, I've found myself having students use "big" versions of the showerboard whiteboards for group work. And, I've started using those old printable transparency sheets as cover sheets so that students can "write on" my multiple choice tests without actually writing on them!
All of these things seem pretty popular with my students, but they left my little erasers (essentially felt glued to a piece of wood) really, really disgusting! So, it was time for a change.
Washable flannel whiteboard erasers! No more waste...and they're cute and cuddly. My students love them.
To make your own:
Cut long strips of flannel 6.5 inches wide, fold right-sides together hot-dog style, and sew a 1/4" seam to create a really long tube. Press the seam open down the center of the tube and trim to 5" long.
Chain sewing, sew across the bottom of each. Be sure to backstitch at the beginning and end of each pocket. Cut the threads, turn right side out, and you'll have these :)
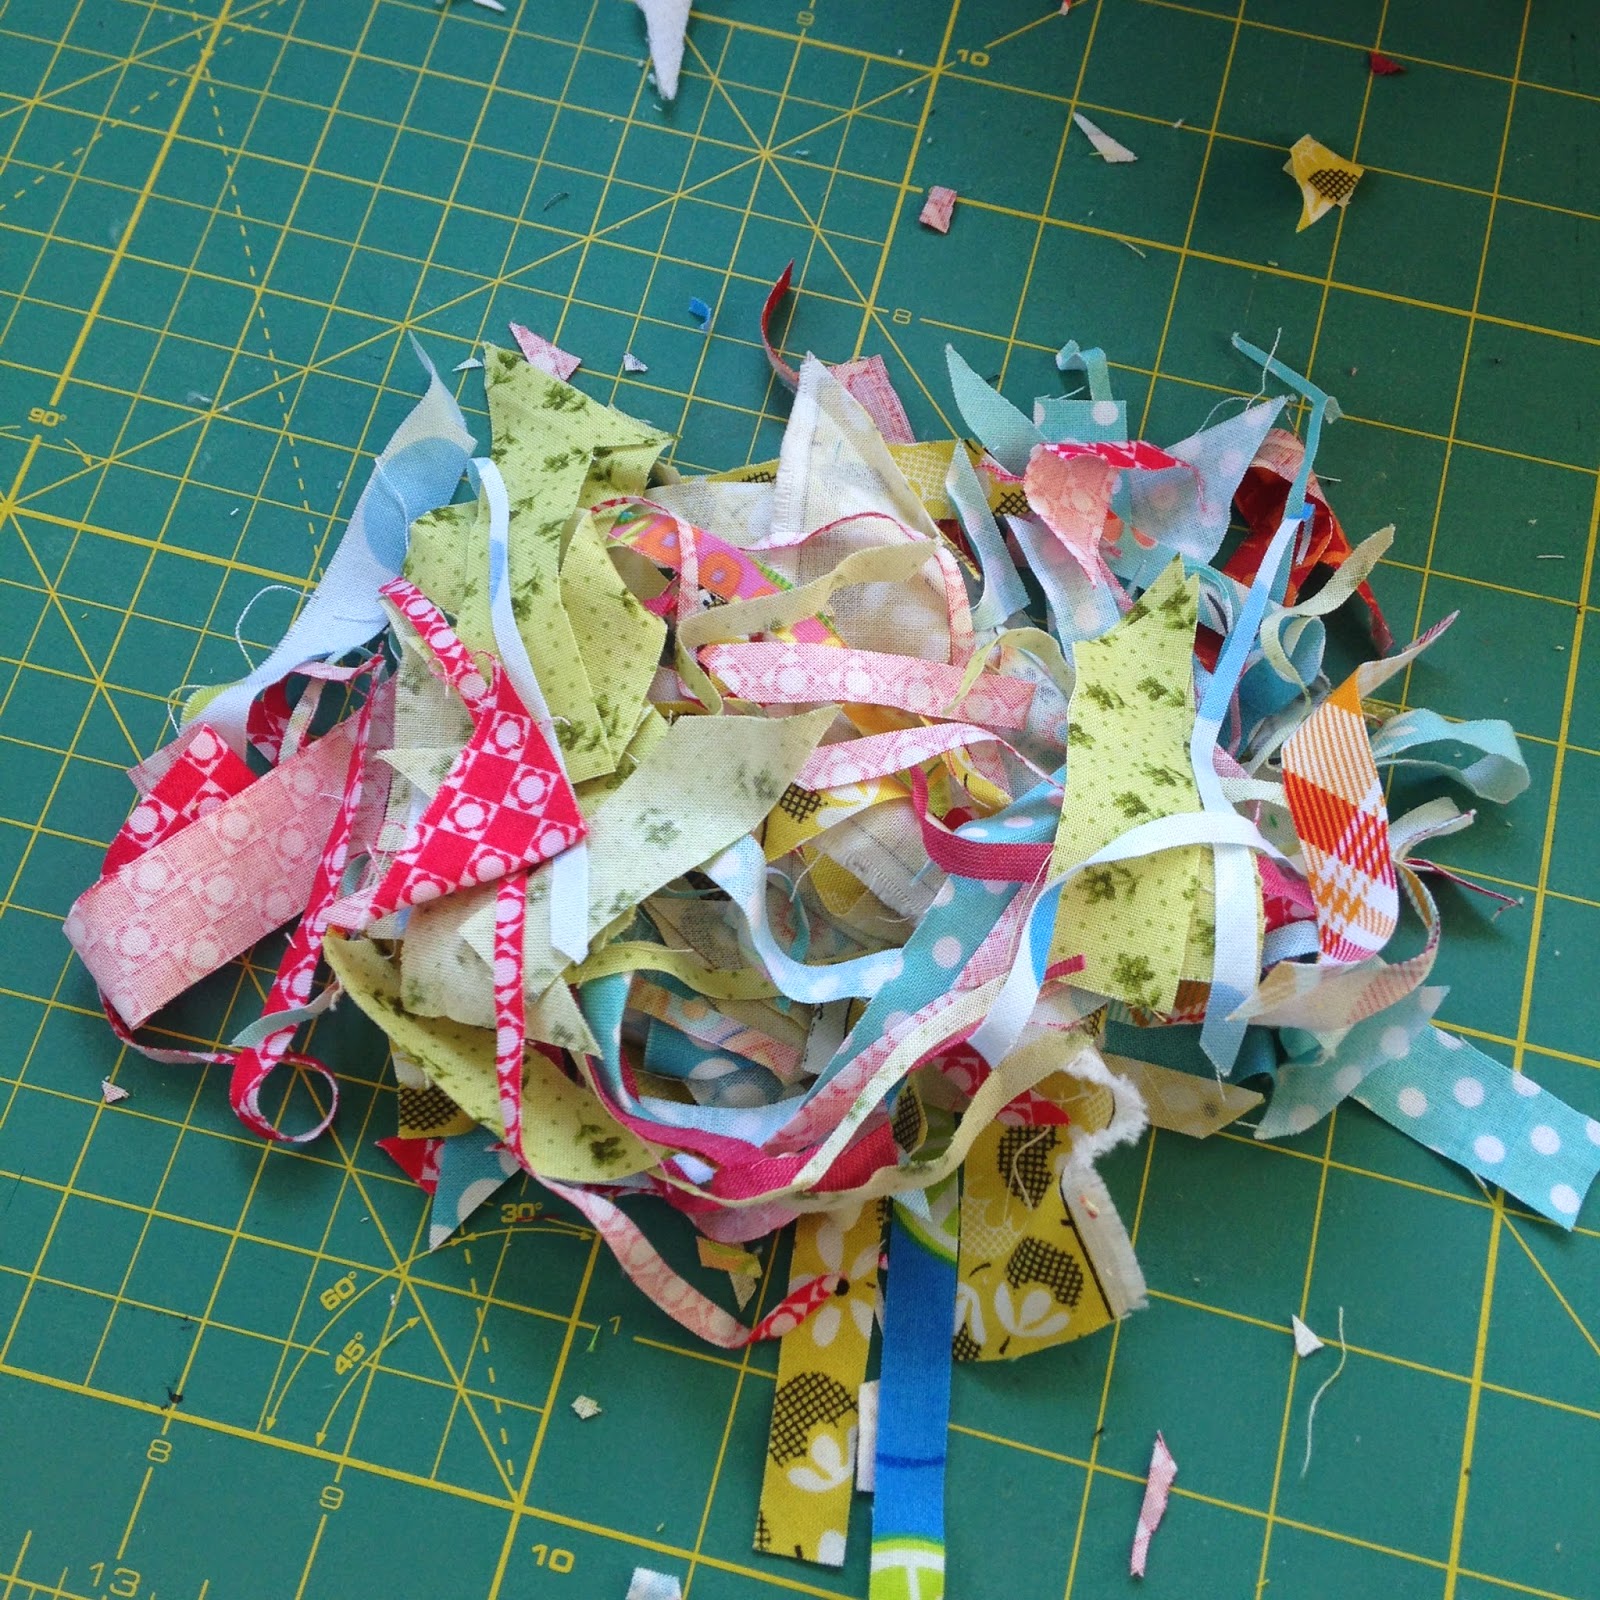
Chop up scraps with a rotary cutter...
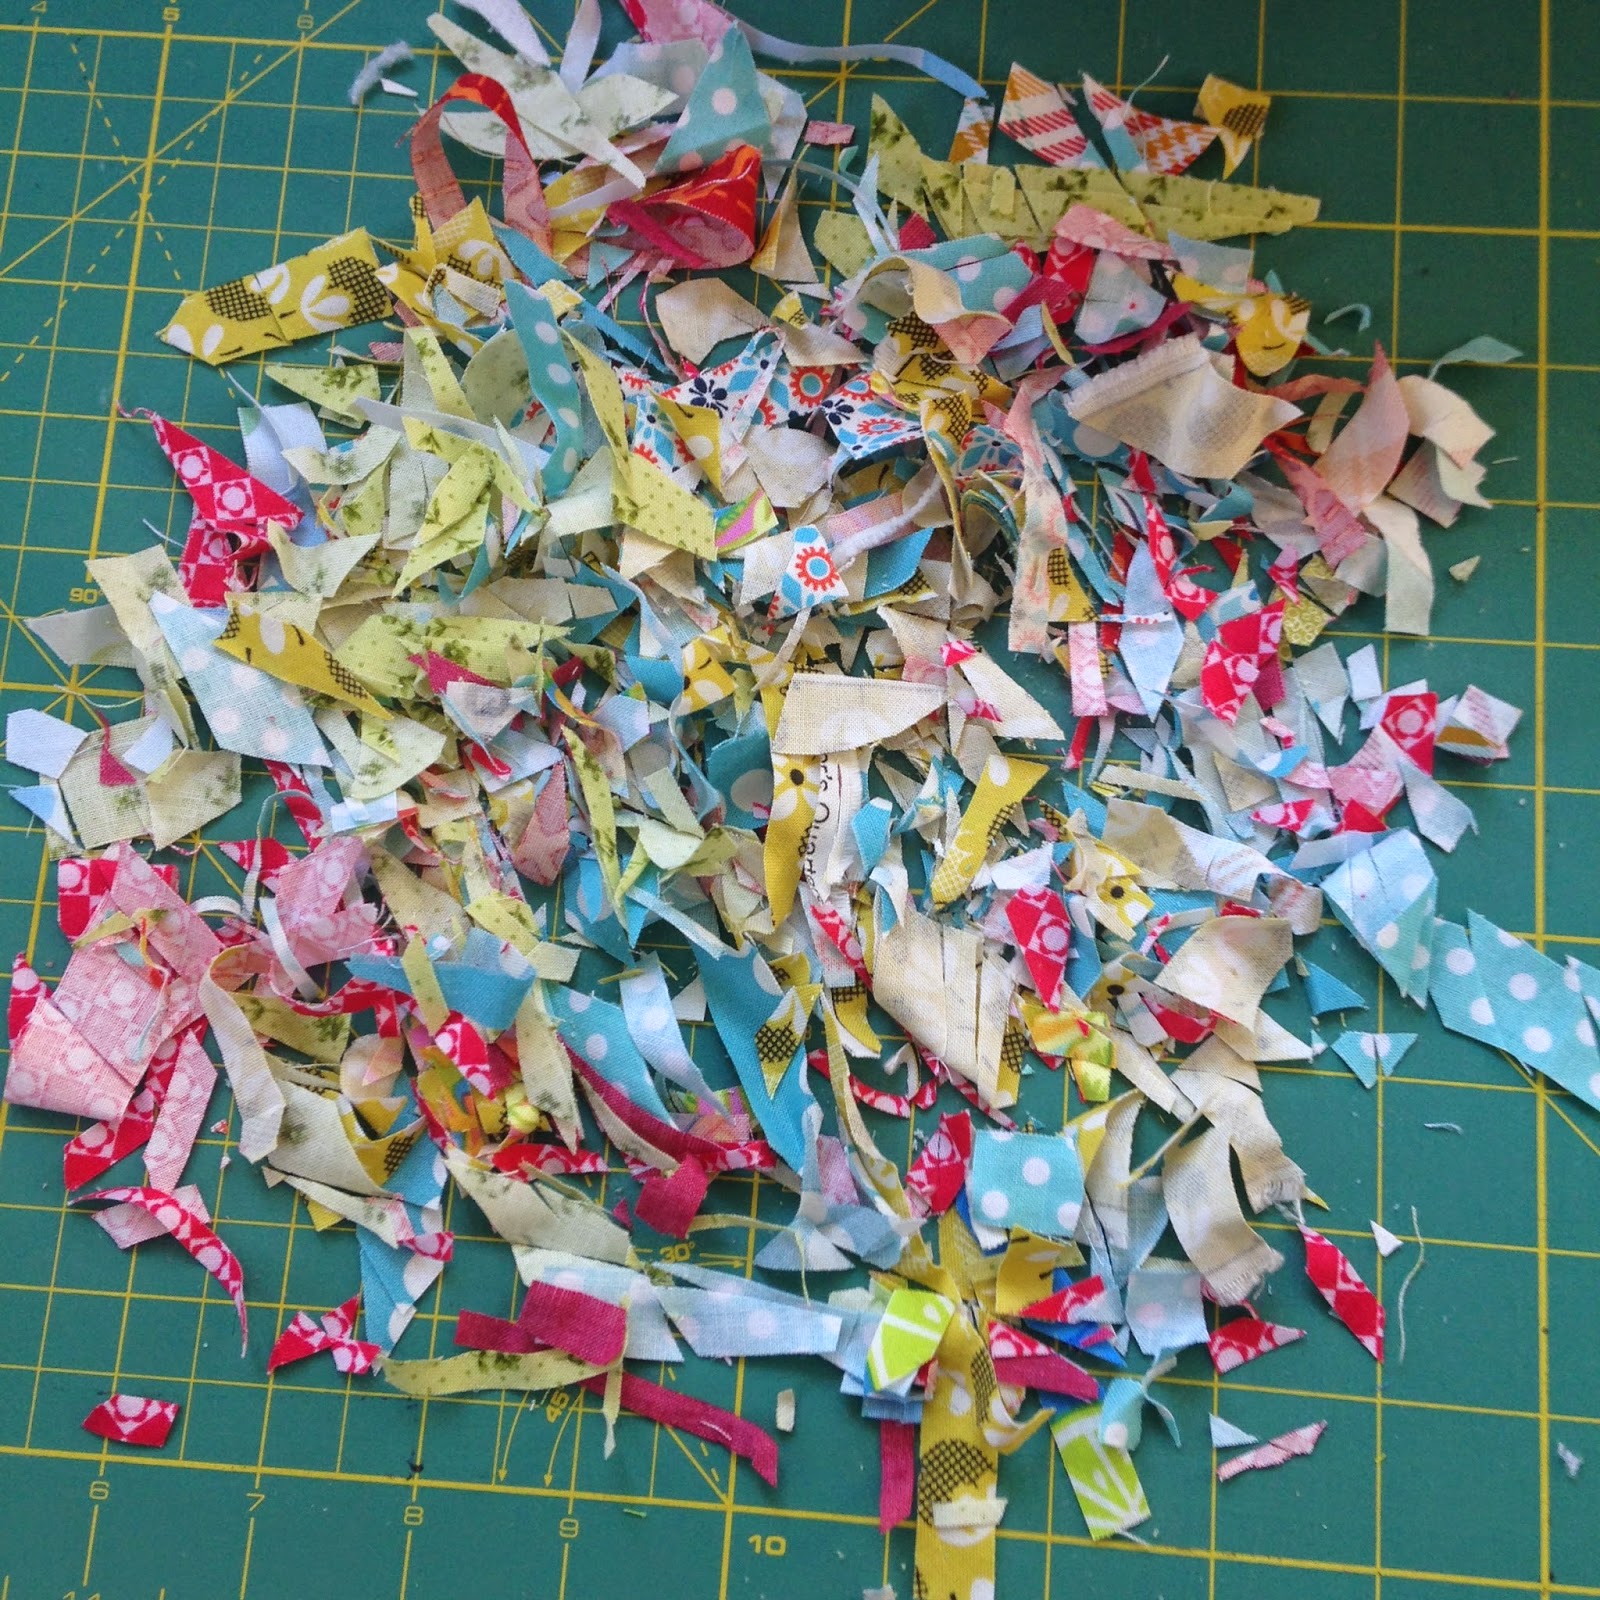
Until they look like this..
By the way...chopping up the scraps was fun for awhile...as I dug through the waste I was reminded of lots of old projects. However, if you're going to make a class set of these, I recommend doing your wrists a favor and chopping over an extended period of time.
Gather the scraps in a bowl.
Use your scraps to stuff your pockets. Pack the filling in there pretty good because the kids will take the loft out of them once they get their hands on them.
Use clips or pins when you turn the edges under. I just did this by hand.
Once you have a bunch queued up, sew a straight seam close to the edge. Don't forget to backstitch!
Et voila! (As my French-speaking husband would say) Your erasers are complete!
Please comment or share pictures if you make your own :)


