
I think it worked out pretty well. Let me know how it works out for you...I'm new to pattern writing.
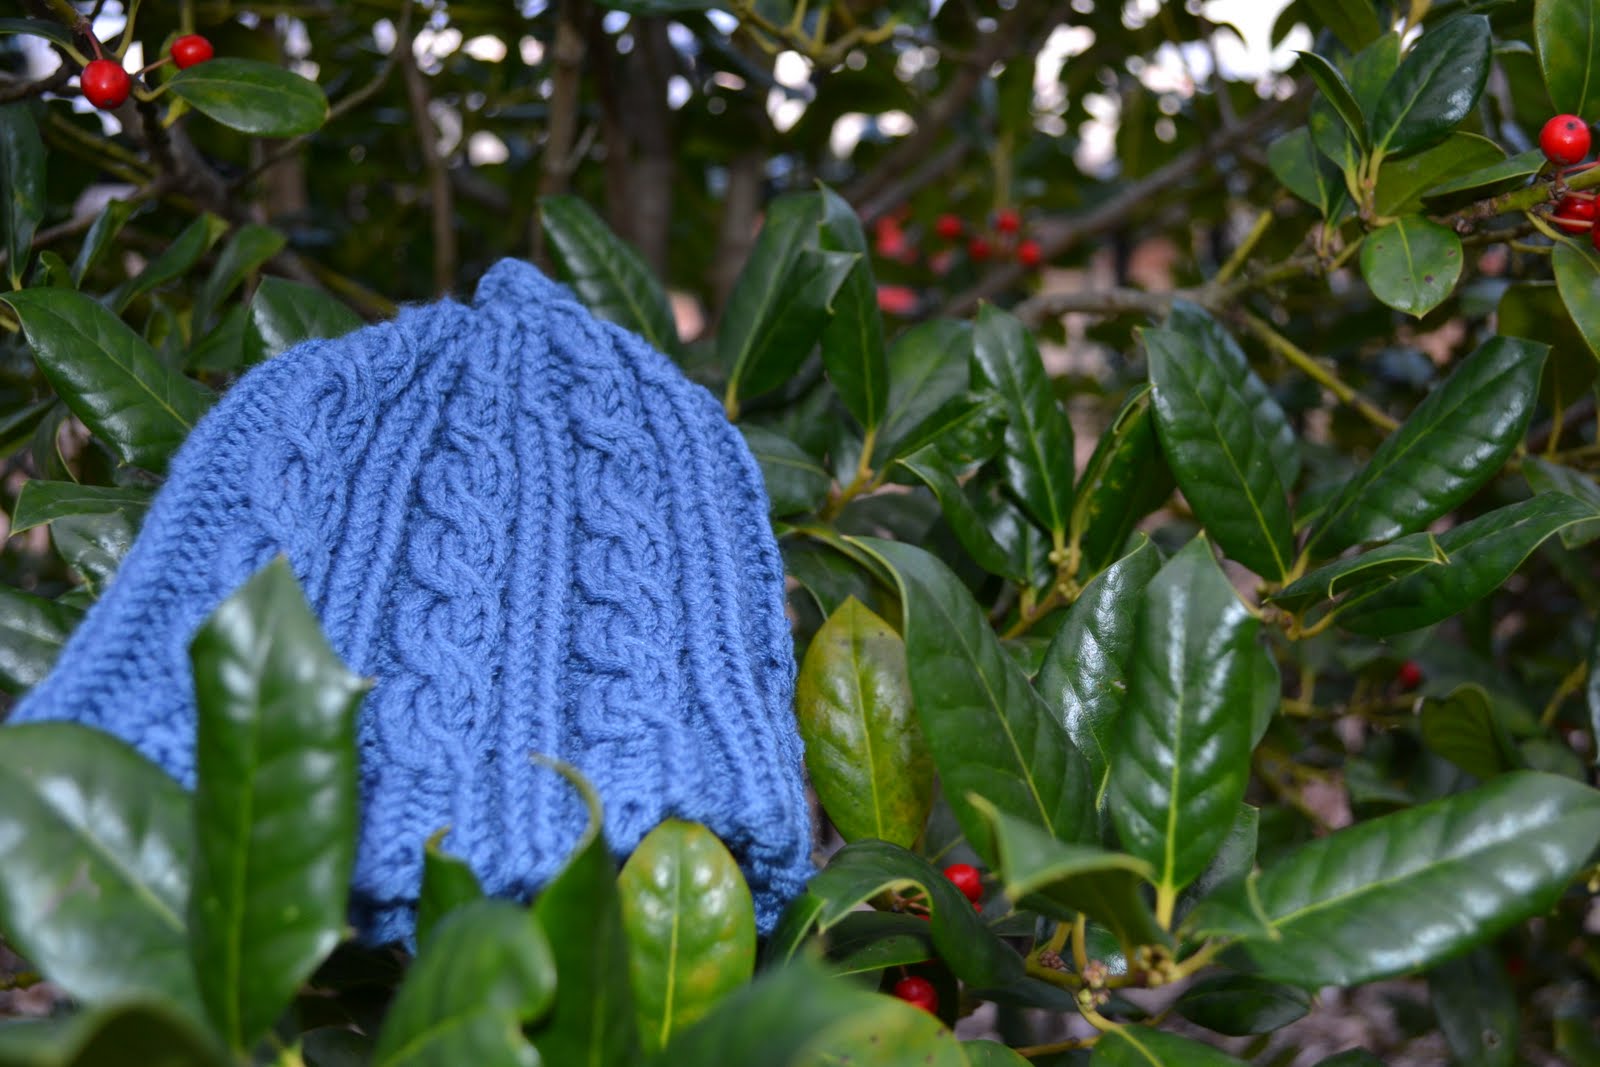
Twisted Stitch Cabled Baby Hat
Needles: 6 and 7 US circular 16” and 7 US double points
Yarn: Comfort worsted
Ribbing pattern: (all knitting is through the back loop to twist the stitch) *P2, K1, P2, K1, P2, K2* Repeat until end of round
Cast on 70 sts on smaller needles. Join for working in the round being careful not to twist sts.
Work ribbing pattern for 5 rounds.
Switch to larger needles and begin main hat pattern.
Main hat pattern:
Round 1: *P2, K4, P2, K2 tbl* Repeat until end of round
Round 2: *P2, Cbl4F, P2, K2 tbl* Repeat until end of round
Rounds 3-5: Repeat round 1.
Work main hat pattern 4 times.
Work round 1 once more.
Decrease rounds:
Round 1: *P2; sl 2 sts onto cable needle, hold in front, knit 2, k2tog off the cable needle; P2, K2tbl* Repeat until end of round.
Round 2: *P2, K3, P2, K2 tbl*
Round 3: *P2, K3, P2, K2tog tbl*
Round 4: *P2, K3, P2, K1 tbl*
Round 5: *P2, sl 2 sts onto cable needle, hold in front, knit1, k2tog off the cable needle; P2, K1tbl*
Round 6: *P2, K2, P2, K1 tbl*
Round 7: *P2 tog, K2, P2tog, K1tbl*
Round 8: *P1, K2, P1, K1tbl*
Round 9: *P1, K2tog, P2tog*
Round 10: slip 1 st, *K1, P2tog*
Round 11: k2tog all the way around (7 sts remain)
Round 12: k2tog 3 times, K1
Work remaining 4 sts in an i-cord for 3.5 inches. Slip the lose end of the i-cord through the four stitches a few times, then slip through the i-cord before cutting the yarn end.


