
Well, a series of problems led to this being tucked away as a UFO...
1.) The borders were attached in a stretched manner...still not sure what I did, but the borders flare so I must have cut them bigger than I needed to.
2.) I layered the batting and backing unevenly, so as I quilted outwards, some of the quilt top was no longer centered over the batting.
3.) Before I could free motion quilt, I chose a straight line pattern that required LOTS of turning...and that was just really annoying and exhausting to struggle with the quilt on the machine. I lost lots of enthusiasm there.
4.) When I finally got started free motion quilting, I started to get thread breaks about every inch. This led to discovering that the Inspira brand needles work great in my Janome.


And so it sat...until yesterday.
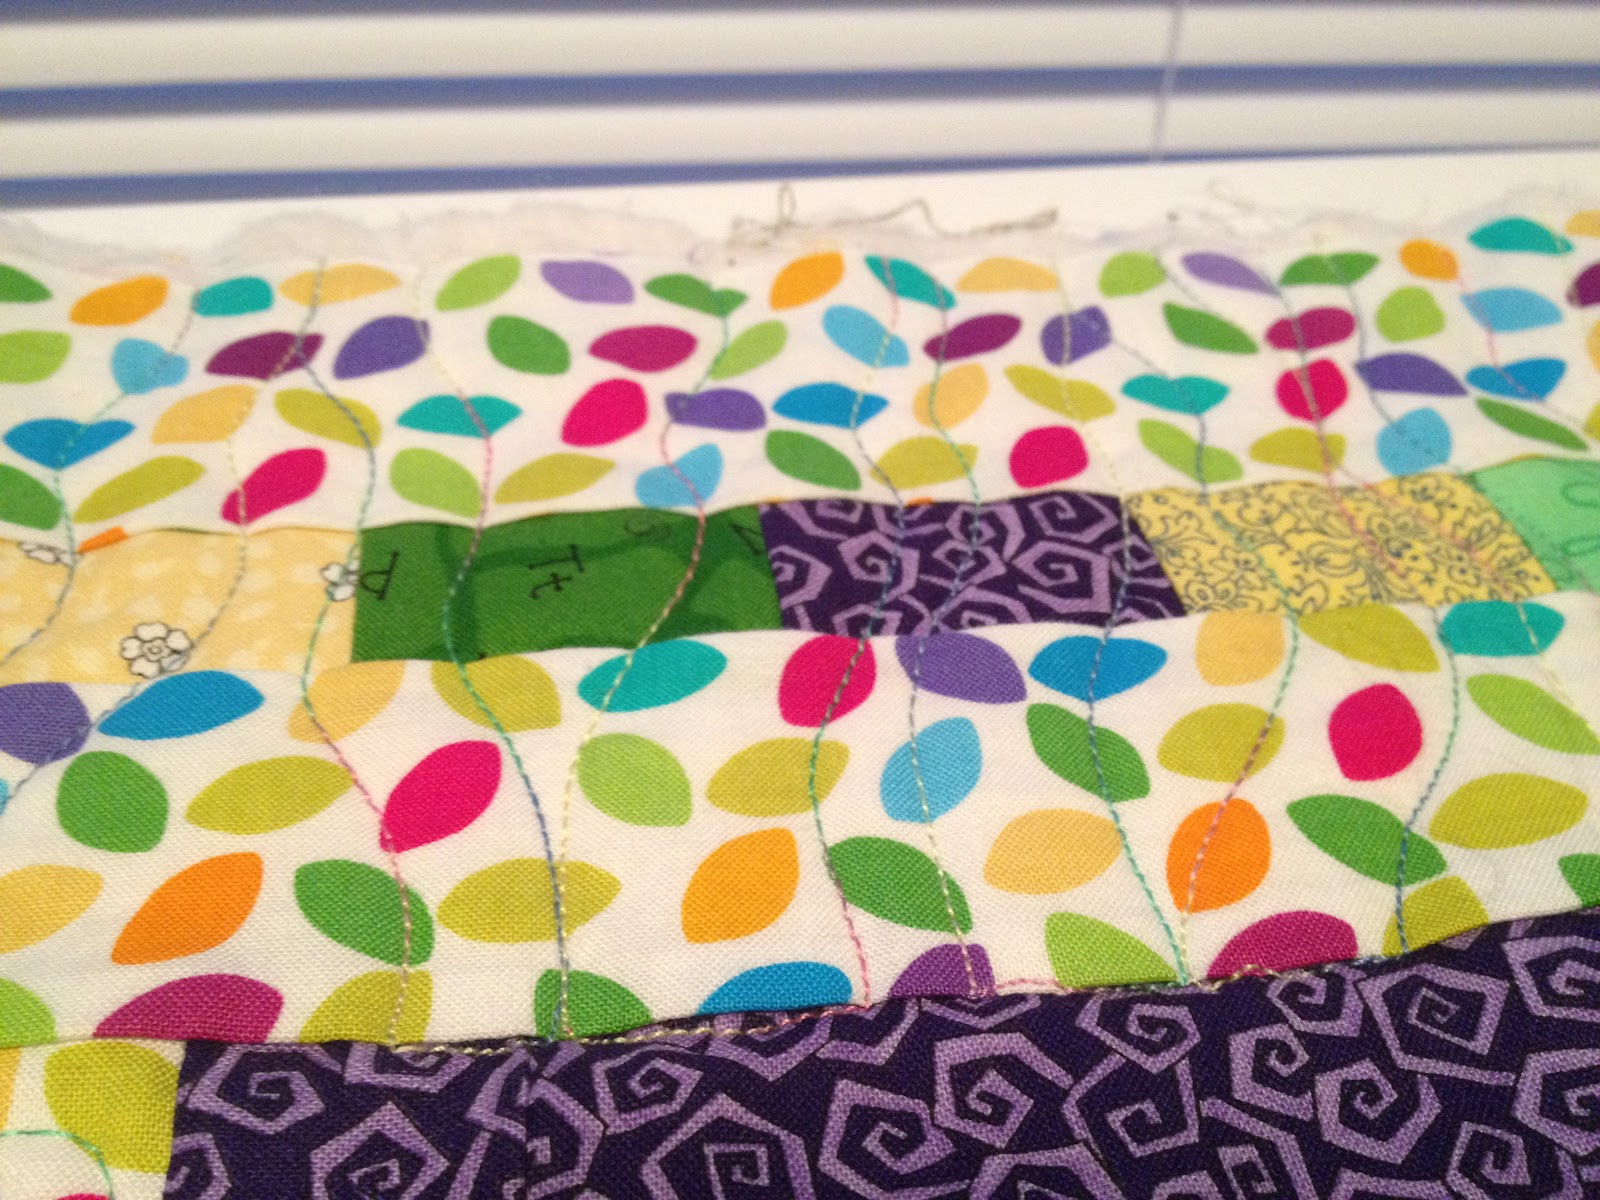
I completed a small patch of swirl stippling that still needed finishing. (No thread breaks!)

But that did include a frustrating mistake...seen here:


Then, this morning, I spent HOURS ripping out the ten lines of quilting on the borders.

 |
| All the threads I collected as I ripped. |

Yay progress!!! I seriously doubted it for a minute there! Again...many thanks to Leah Day. I'm linking up to UFO Sunday, and my question for Leah is "How do you attach borders / sashing in the most successful, least painful way possible?" I've improved, but I still freeze up on projects that require lots of long strips sewn together.

To all my readers, I'm also curious, what color binding would YOU use for a quilt that's this colorful?

I add borders by measuring the quilt top & then cutting borders to the exact size required. Don't make them longer and cut back after, I find this causes too many problems with the quilt not remaining square and the borders going wavy.
ReplyDeleteI'd bind your quilt with some of the purple from your blocks if you have any left over.
Happy quilting!
I too would use the purple if you have any left, or if not, go for a dark green like you have inside some of the squares. I reallyl ike the design of the off centre squares!!
ReplyDeleteFor the binding, how about the dark color (grey?) that you used to frame the boxes? It might act as a larger frame for the entire quilt.
ReplyDeleteFor the binding I also suggest the grey that is around the boxes.
ReplyDeleteFor borders make sure if it is just long pieces of fabric that you cut the border strips lenghtways along the grain, much less give. Second, measure the quilt 3 x times, about 10 inches from the top/bottom and in the middle. Take the middle measurement if they are all different. Cut the border to exactly that. Pin border to the middle and either end and then ease as you pin along. I didn't used to pin and that that caused problems. I find if the border is a teeny bit smaller then the quilt then it helps to stretch out the quilt.
These are great tips B. Thank you! I always consider the stretch of the grain when I'm ironing fabric, but I never considered applying the same concept to the border strips!
DeleteI like the bright colours, glad it is on its way to being completed. I too once quilted over the backing fabric without realizing it was folded over... of all the border designs you've tried, the flowing lines are definitely my favourite, especially with the multicoloured thread.
ReplyDeleteYour flowing line quilting is gorgeous! I love this colorful quilt and would border it in purple. I follow B's guidelines above for making borders lie flat, it really makes a difference.
ReplyDeleteEverything happens for a reason. Of all 3 designs you tried, I like the flowing lines the best! I like how the green popps on the quilt, so I would probably use that for the binding color.
ReplyDeleteWell, you should feel a sense of accomplishment now!
ReplyDeleteI've had a few wavy borders too but now basically follow what B said or leave quilts borderless since I tend to make big quilts anyway.
For binding I would use same fabric or color as what is bordering the blocks (must be purple? - looks purple and black to me).
And, P.S. - I've had the backing fold over on me a few times also. Now I cut it back to about 2-3 inches so it is right out there for me to see.
It's fun to see all the UFOs come out of hiding.
The quilt is lovely- and you will appreciate it more because you overcame all the problems!
ReplyDeleteHi Aubrie. I think you can't go wrong binding with either the purple, dark green or even gold. "Audition" the choices next to each other by laying those three fabrics along the edge of the quilt and see which really pleases your eye.
ReplyDeleteI saw a tutorial on how to straighten a wavy border when putting the binding on...it's in an online class (Ann Peterson's "Beyond Basic Machine Quilting." Maybe you can Google this process (correcting wavy borders) to find some free tips. I don't remember it well enough to describe, except that it has to do with putting a string inside the binding. Sorry, I know that's not very helpful on its own!
No apology needed! It's a great start (and something I need to investigate.) Thanks!
Delete